We will walk though the steps that I took to remove and remount this Dall sheep. This is another example of a case where skull width was not considered and multiplied into many more problems. There was a block of wood used as pedestal hardware. This is what held the sheep up as a pedestal. This is very poor craftsmanship. The area on the back was filled in like a rock. That also will go.
Looking from the front, the head is to wide and the muzzle has no detail. This is because the mannikin was to large and there was not enough skin to adjust and create the detail. Notice the ears are not even and are very poorly shaped. I found that one ear-liner was to large and had been folded over inside and left like that. The ear was not turned out all the way, and this became a problem with the fit.
Here I have been soaking the skin and removing it ever so slowly. I found even more problems as I removed the skin.
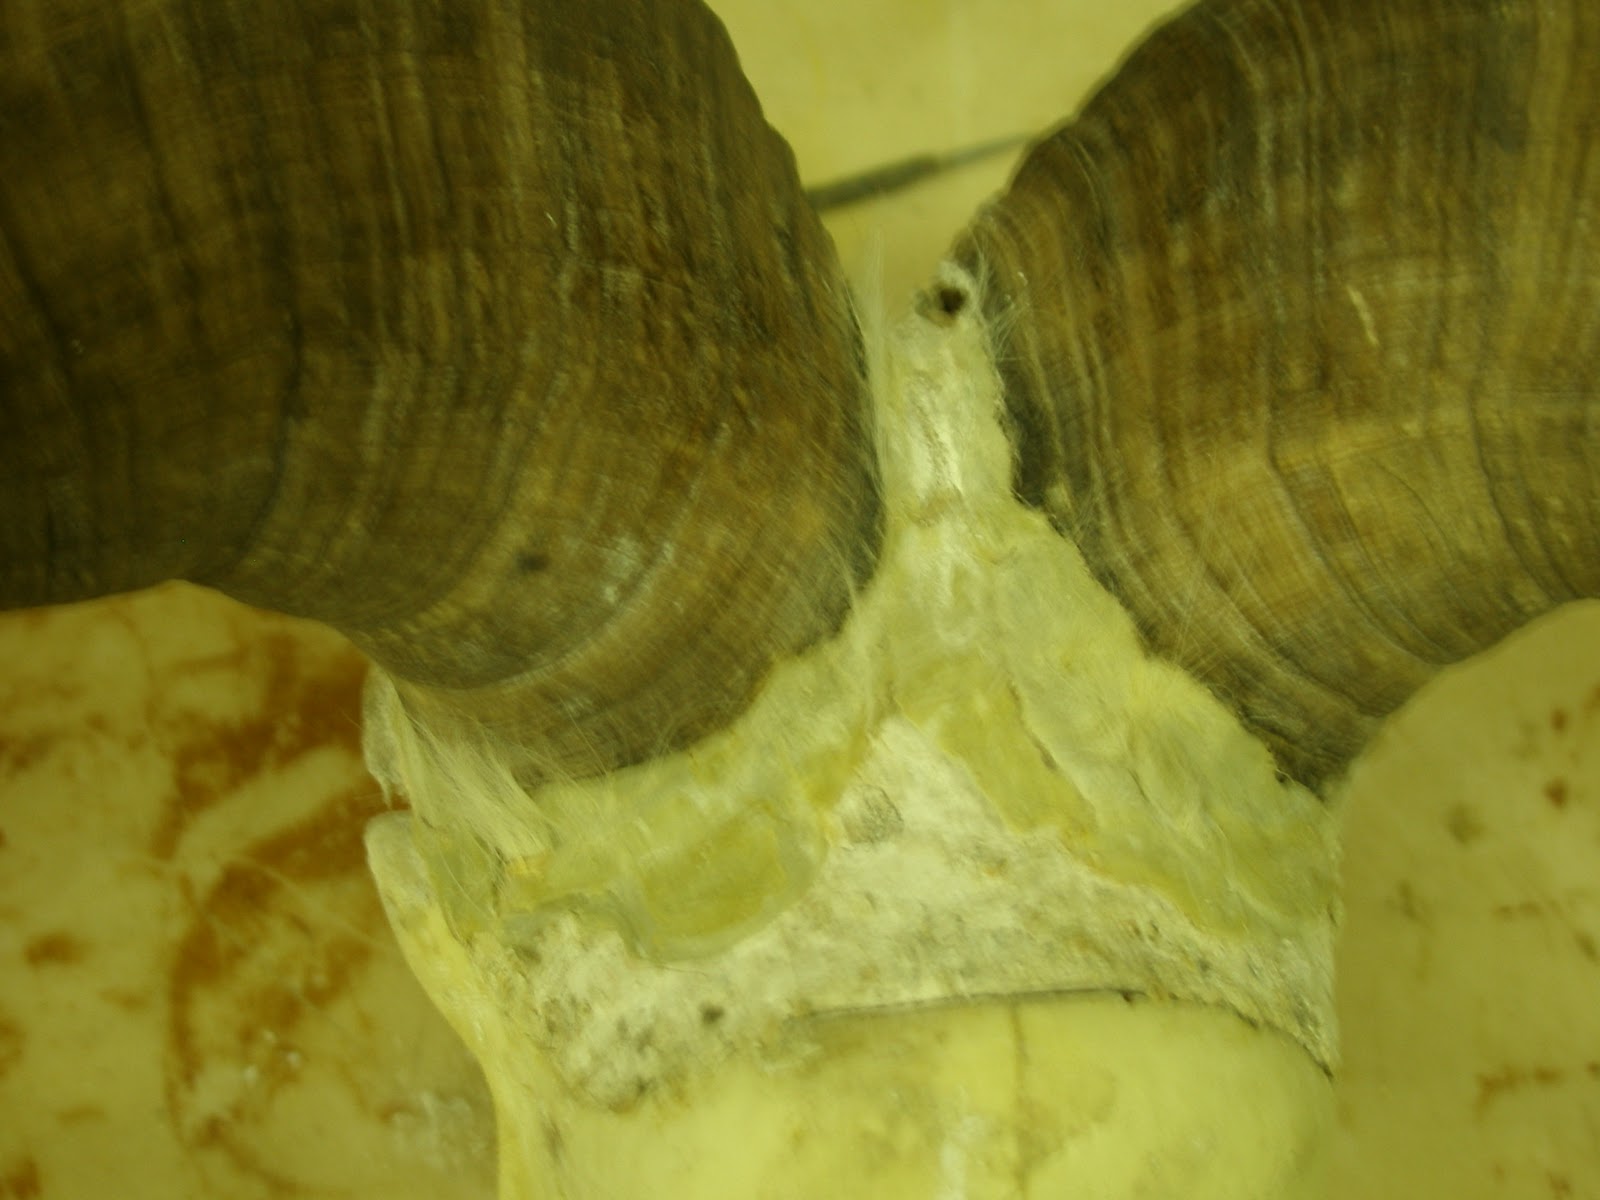
Looking close at the next few photos, there had been epoxy filled in between the skin and the horn. This is because the mannikin was to large and there was not enough skin to reach the horn. If this happens, it is because the head on the mannikin is to wide and needs to be split.
Notice where the hair was pushed in to the epoxy to fill the gap. This is where the problem should have been addressed to discover why things are not fitting properly. Attention to detail and solving these problems increases your skill. This is where you will earn more profit for the work being done.
Notice here that the mannikin is wider than the skull. This will cause problems with having enough skin to fit the mannikin properly. Here the head needs to be removed and split down the center to reduce the width.
Another look from the top. This is just unacceptable. There was no thought put in to this project.
Here it is noticeable that nothing lines up correctly. This is how problems begin. When the head is to large for the skin, you will begin to steal skin and placing it where it does not belong.
More epoxy. So the skin did not fit around the horn at any area. The circumference of the mannikin at the head was so large that there was not enough skin. In the tutorial Mule Deer Project, I show how the head needs to be cut and place back on the mannikin.
Placing the skin after all the alterations.
Notice here the skin fits around the horn base just as it should.
The muzzle width here was reduced and the skin can now fit the mannikin without drumming.
Here you can see the head beginning to take shape.
From this angle, you can really begin to see a difference in the detail and overall shape. Look back at the head we started with. There was nothing right about that head. Looking at the photo on the bottom, you can see separation between the bridge of the nose and the muzzle. This detail is important in achieving a life like look. Looking at the base of the horn, you can see the skin fits perfect up to the base. This skin now fits this sheep correctly.


No comments:
Post a Comment