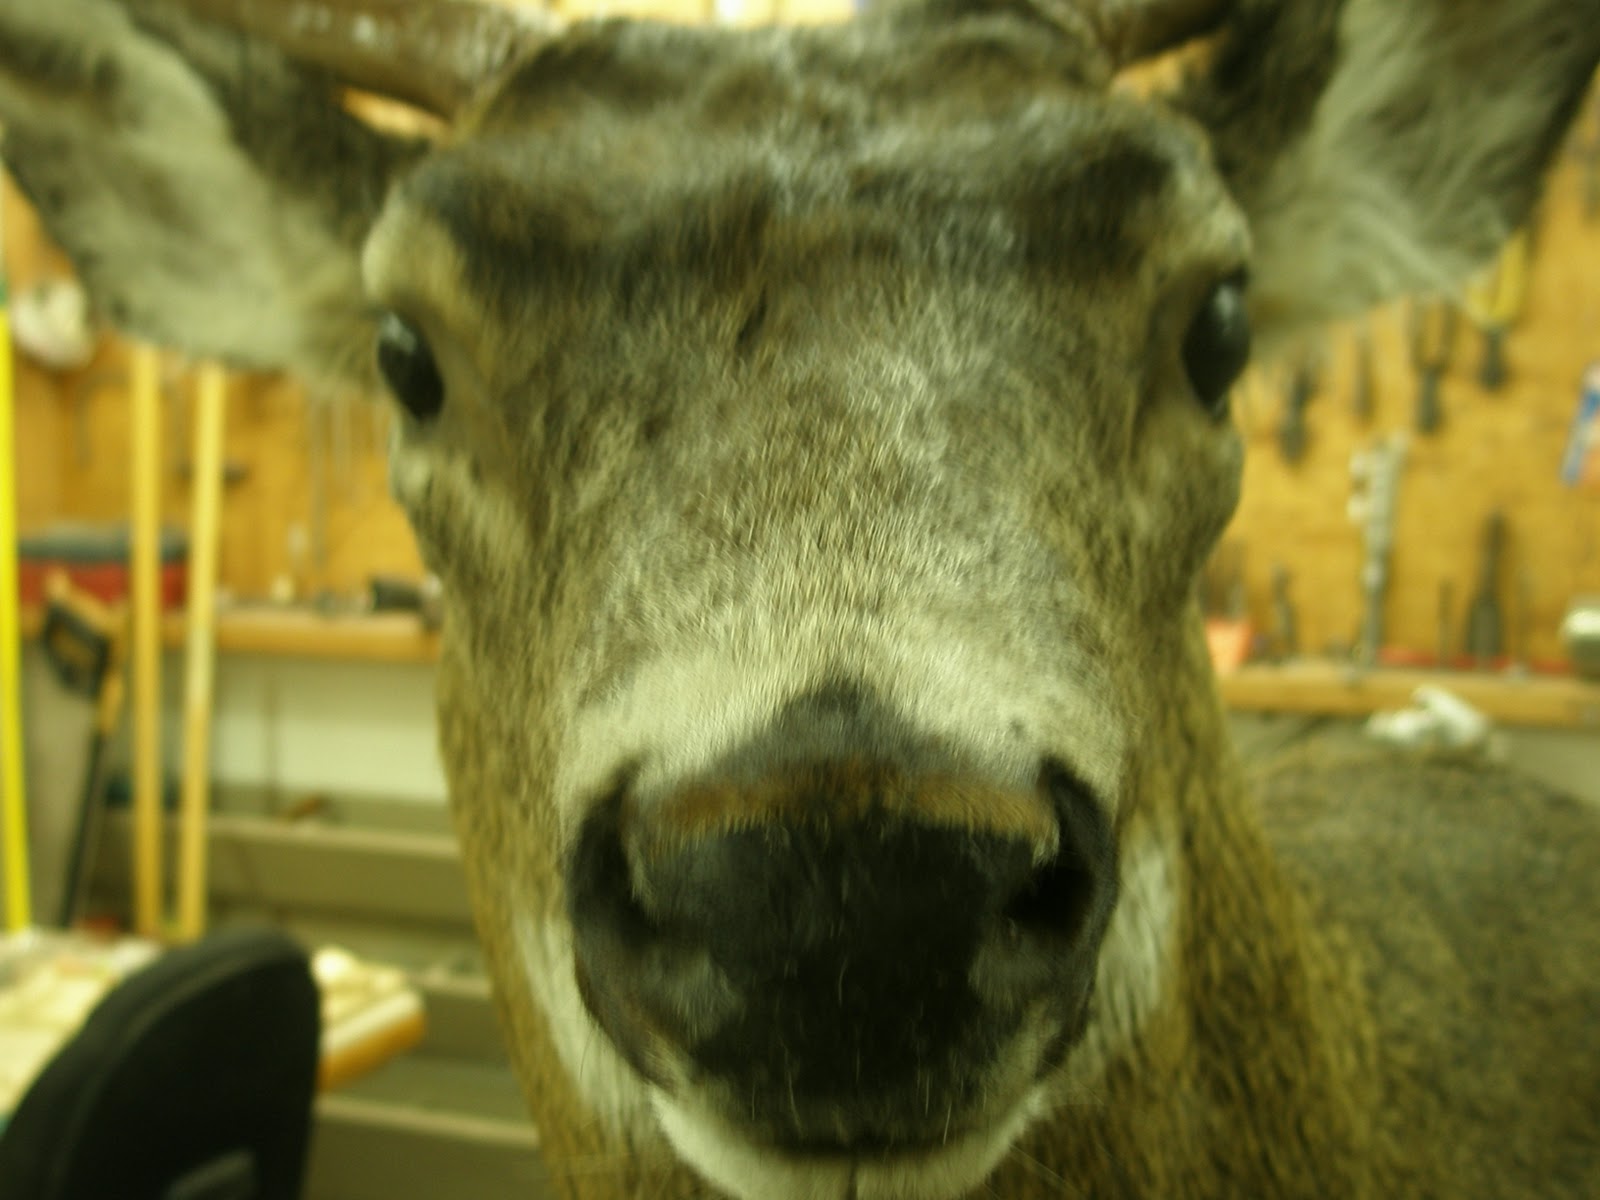
This tutorial is on remounting a Blacktail deer. I will show where mistakes were made by the first person mounting this head.
Notice here the eye set is very distorted. The eye was not sculpted in correctly in the beginning. This issue is cause by a number of problems I will show as we proceed.
Here from the front the nose is to wide. It was this way on the mannikin in the beginning. The head on this mannikin is to large for this deer. I measure across the eye sockets to get the exact width.
Here the ear looks very ruff and ungroomed. There has been no ear butt sculpted into the mount. I found the ear was just stuffed with clay and left as is. This is just very poor execution.
Here see another look at the other ear. No ear butt at all. There was no skin left to make an ear butt. The skin was used up because the head was to large. When the mannikin is to large, artist will begin to steal skin. Down the line it will show.
Now for the next problem. Here the skull was placed on the mannikin incorrectly.
After removing the skin, I can see that the skull was screwed flat to the top of the mannikin. The back of the skull should have been blocked up so the bridge of the nose lines up with the mannikin.
All this clay added to the distortion and just made the project more problematic.
Now we see how wide the head of the mannikin was to start with. The skull (eye sockets) is 5/8 of an inch narrower on each side than the form. The head should have been split and reduced by 1 1/4 inches. This is why the skin could not have been placed correctly.
Here I have removed the skin from the mannikin. I then removed the earliners, glue and unwanted clay.
I removed the head from the mannikin and reduced the width by 1 1/4 of an inch.
After splitting the head, I foamed it back together and reattached it to the mannikin. I use foam for all these steps. I do not use bondo, because the foam is stronger and will take the shock of being dropped.
Now here is the skull attached to the mannikin. Notice, that it lines up with the bridge of the nose. The mannikin is now the same width as the skull. I always leave the eye sockets on the skull when I cape out the game heads. The skull is the most important part of the mount. Without the eye sockets, the taxidermist is just guessing at the width, in fact the width is not even taken into consideration.
Here is the Blacktail mounted and on the wall to dry. The difference is unbelievable, and he is not detailed yet.
Here is the finished trophy. This is what the client was looking for.